Installation Instructions
Please see our Instagram stories for more Instructions and photos also.
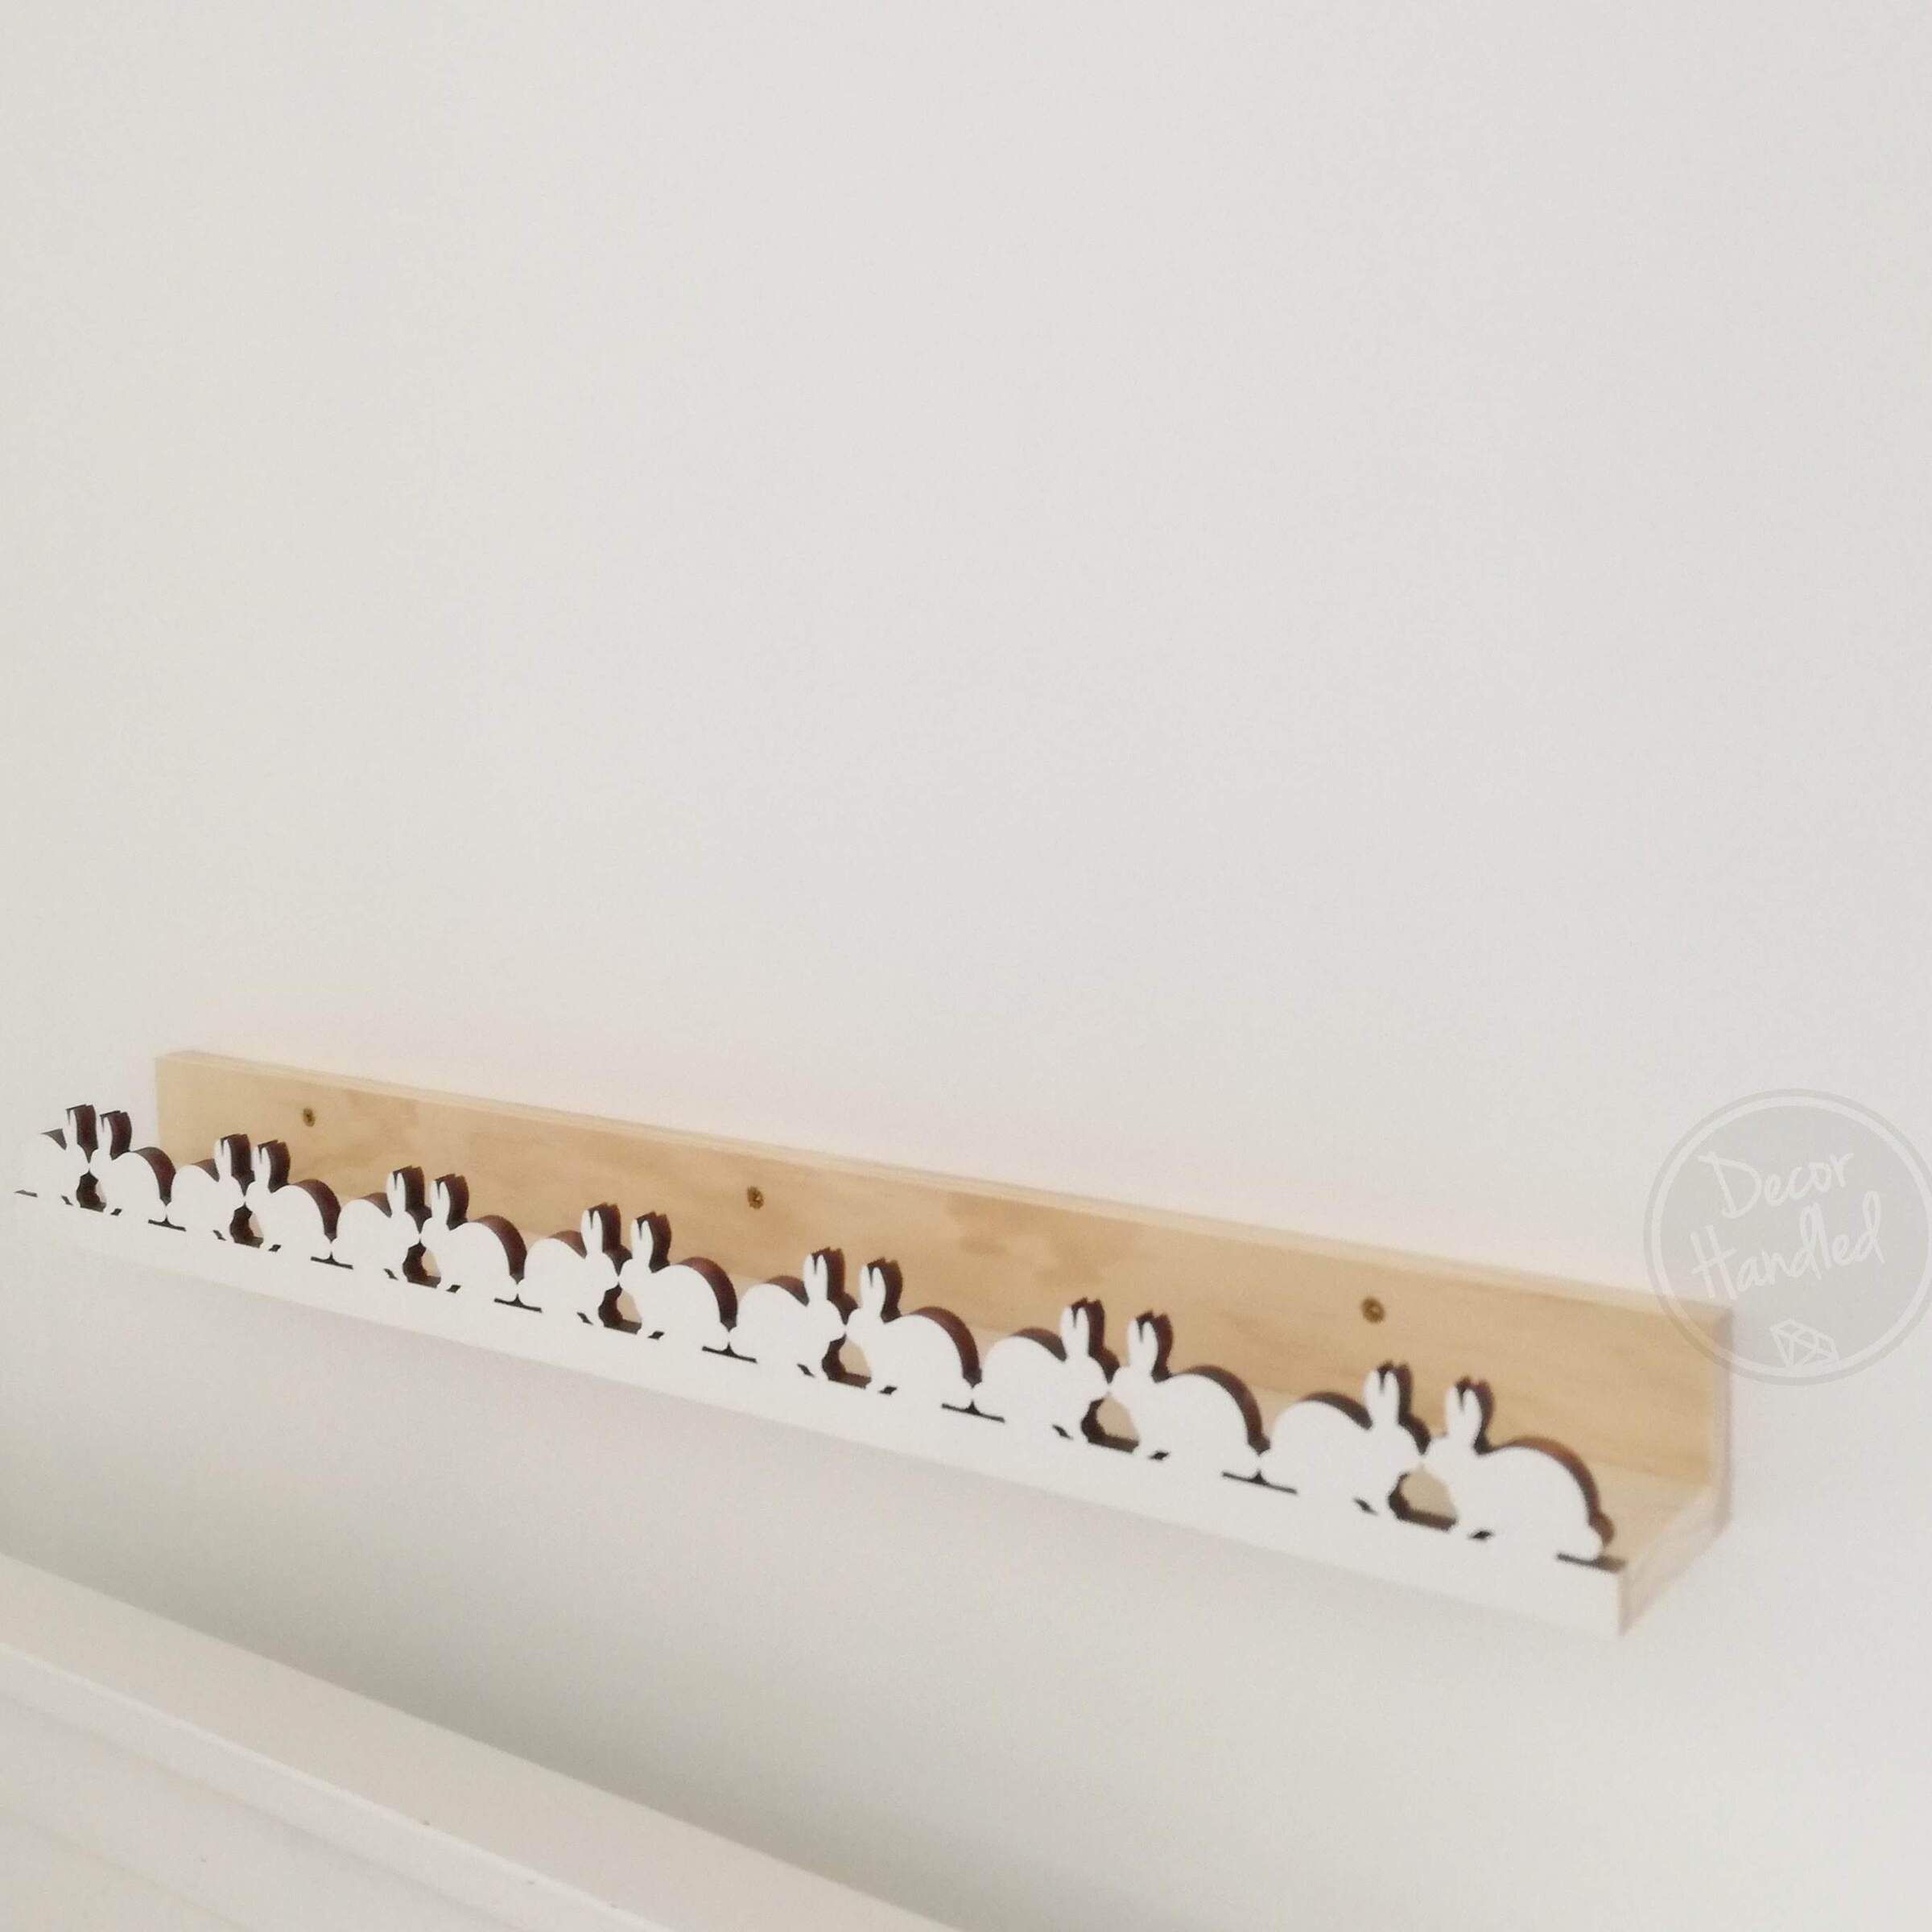
Installing a Wooden Shelf Ledge
You can also view Installation Photos and Videos on our Instagram Stories.
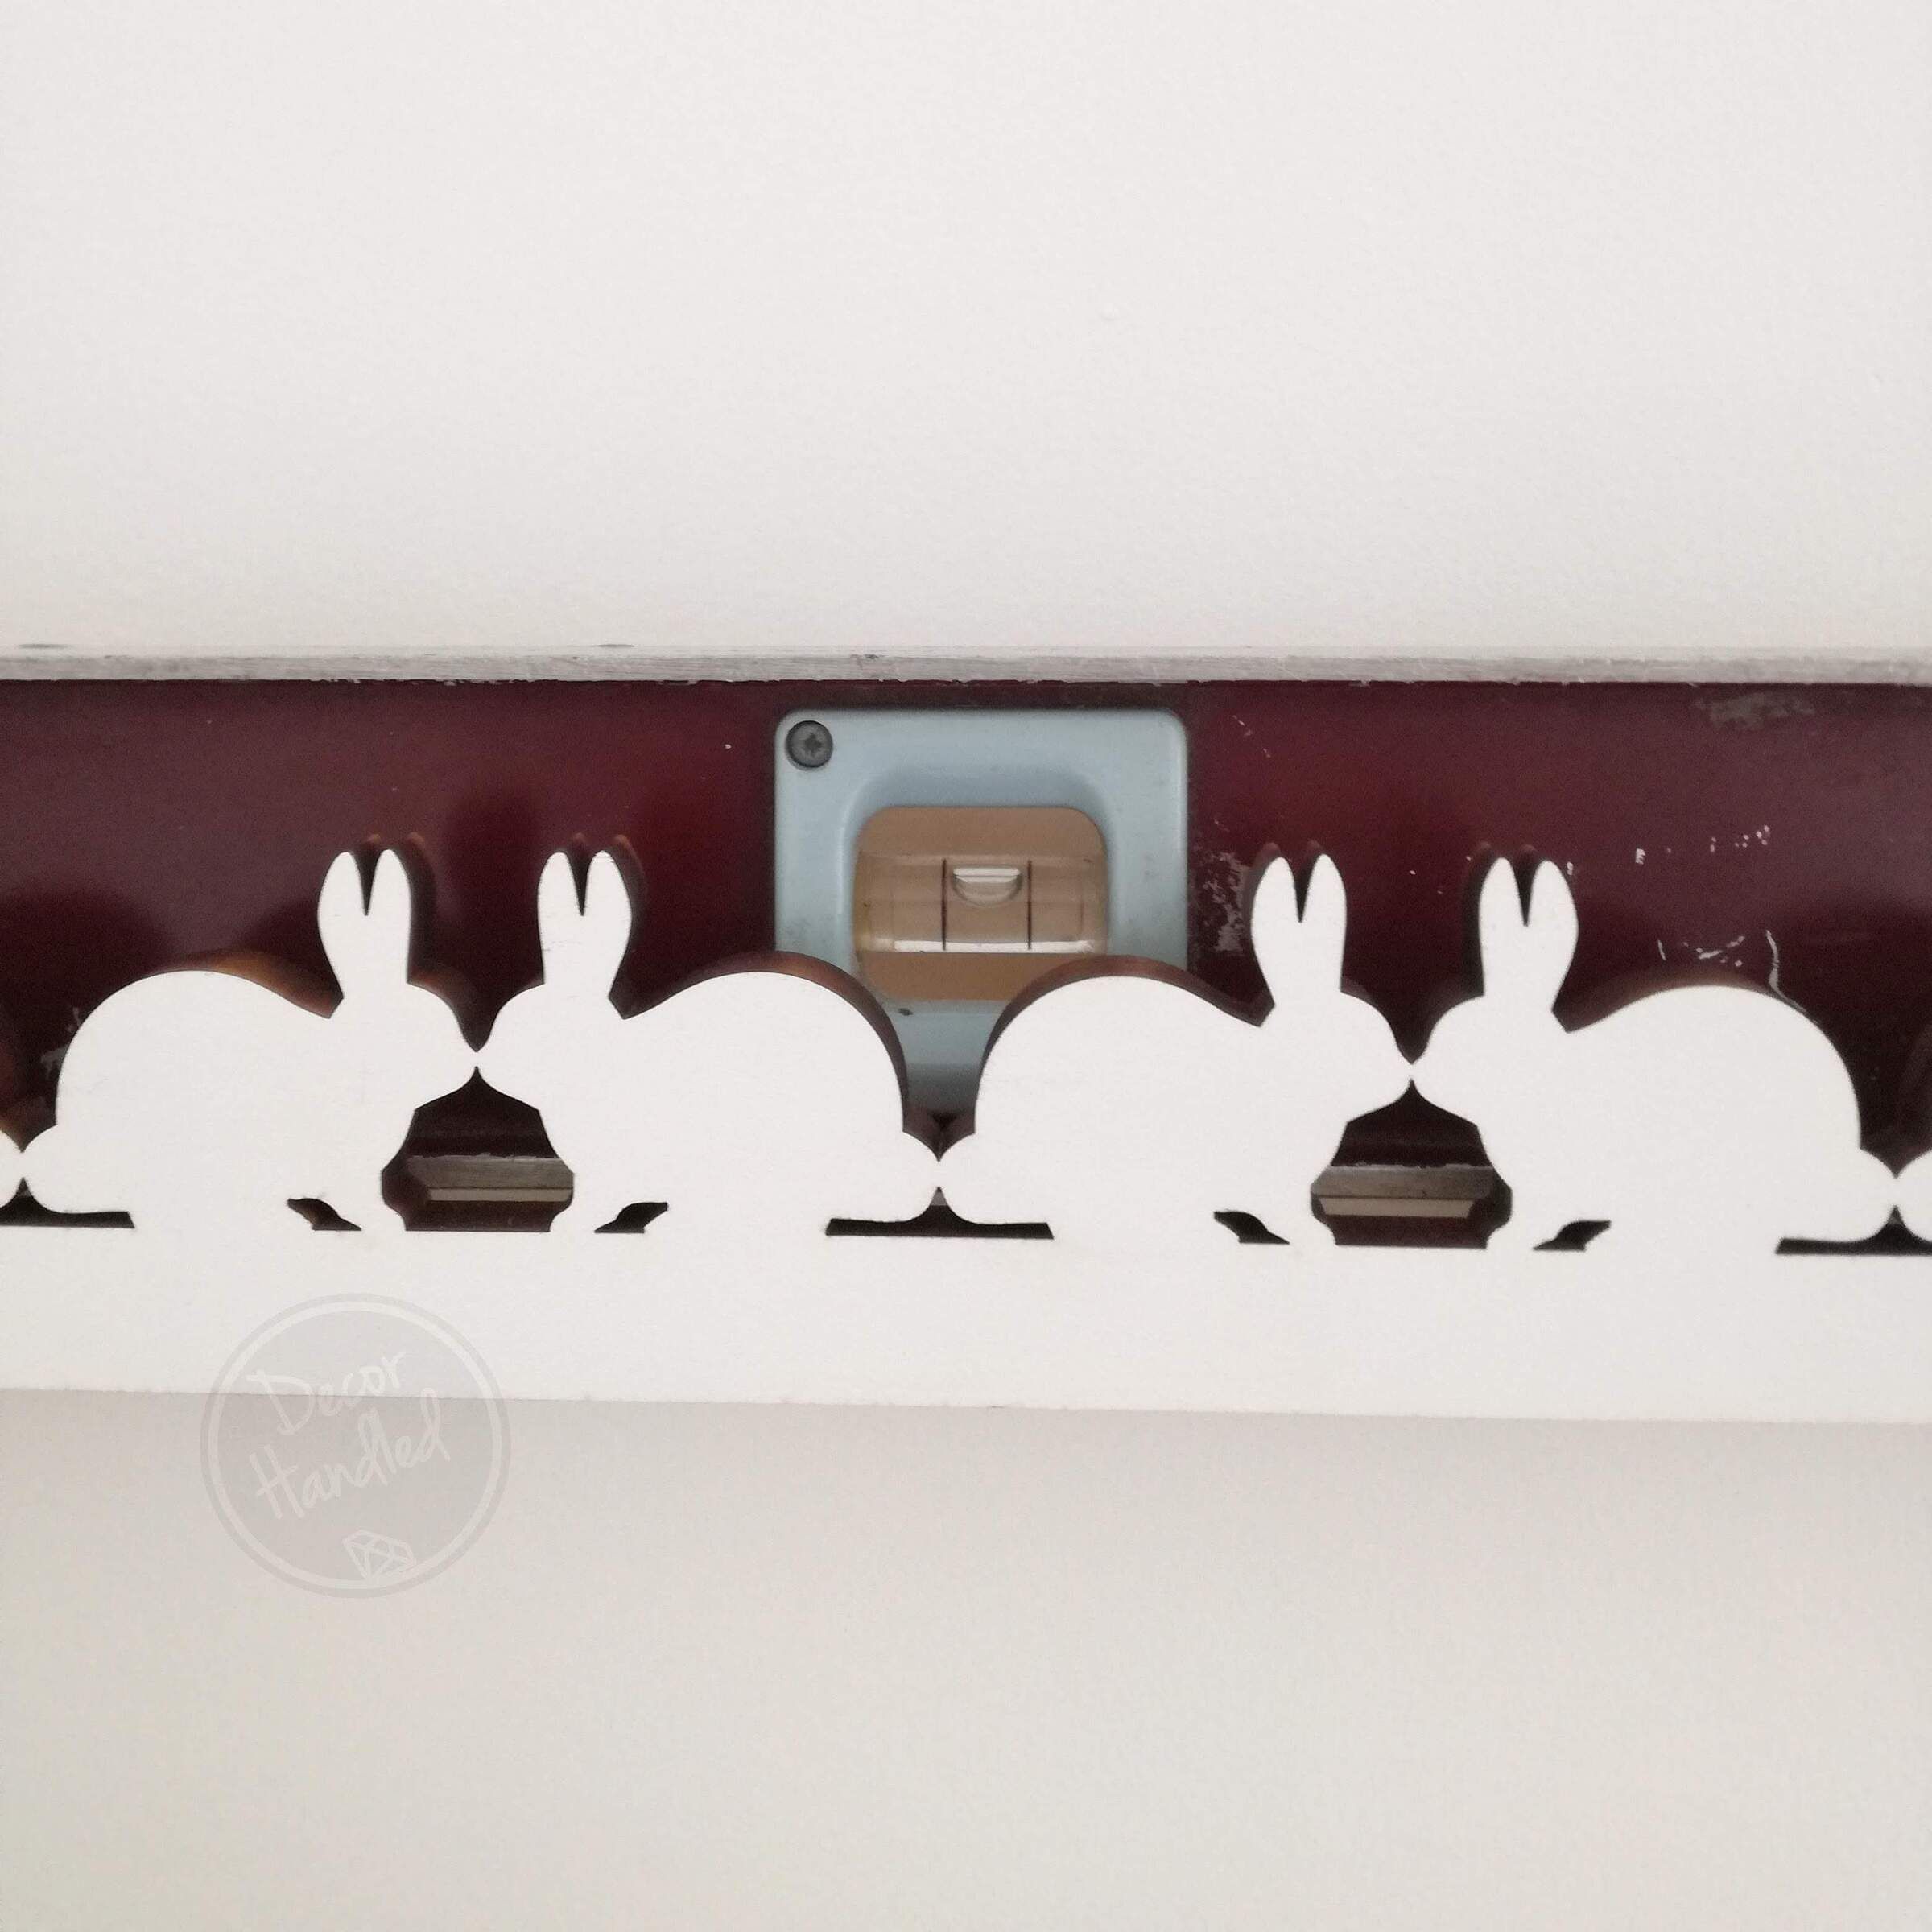
Mark the walls with a Pencil where you want the Top Back of the Shelf to sit. Use a Level if you have one to ensure the Shelf sits level where you have marked it. If you don't have a Level we recommend measuring from the ground up and then the ceiling down to try to ensure a level measurement.
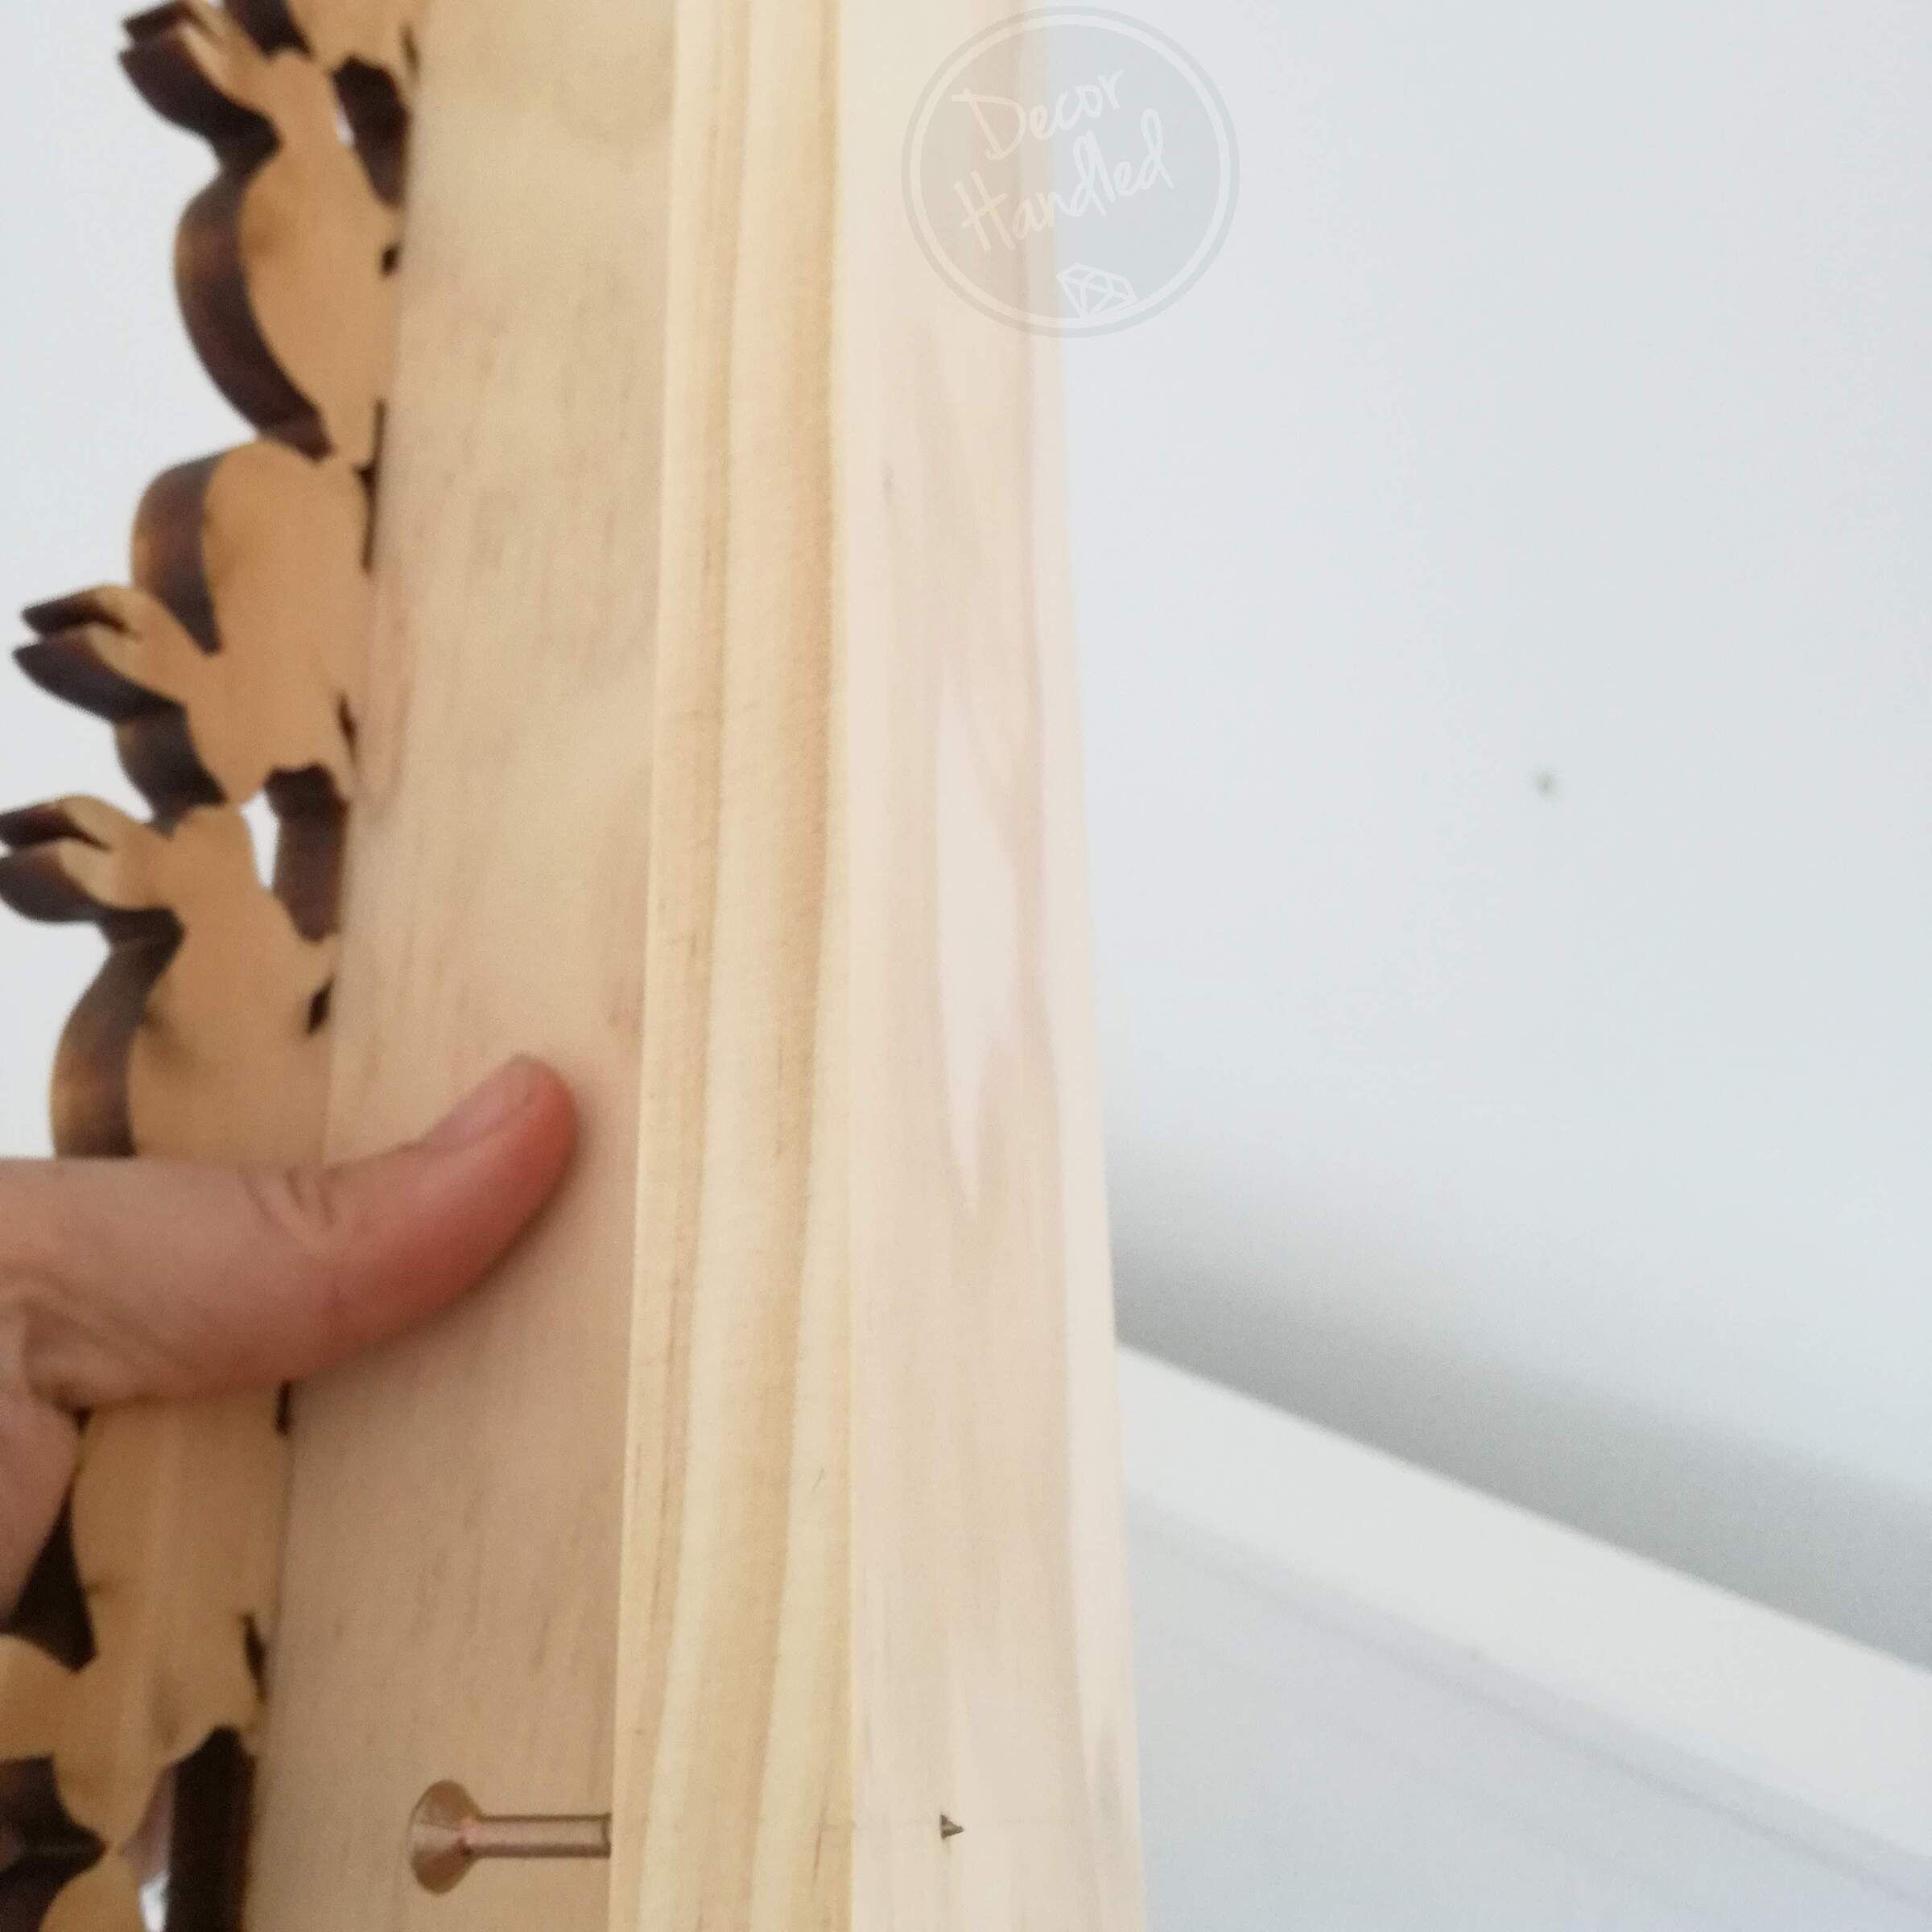
Screw the supplied Screws thru the Shelf Ledge until the Tips are just sticking out.
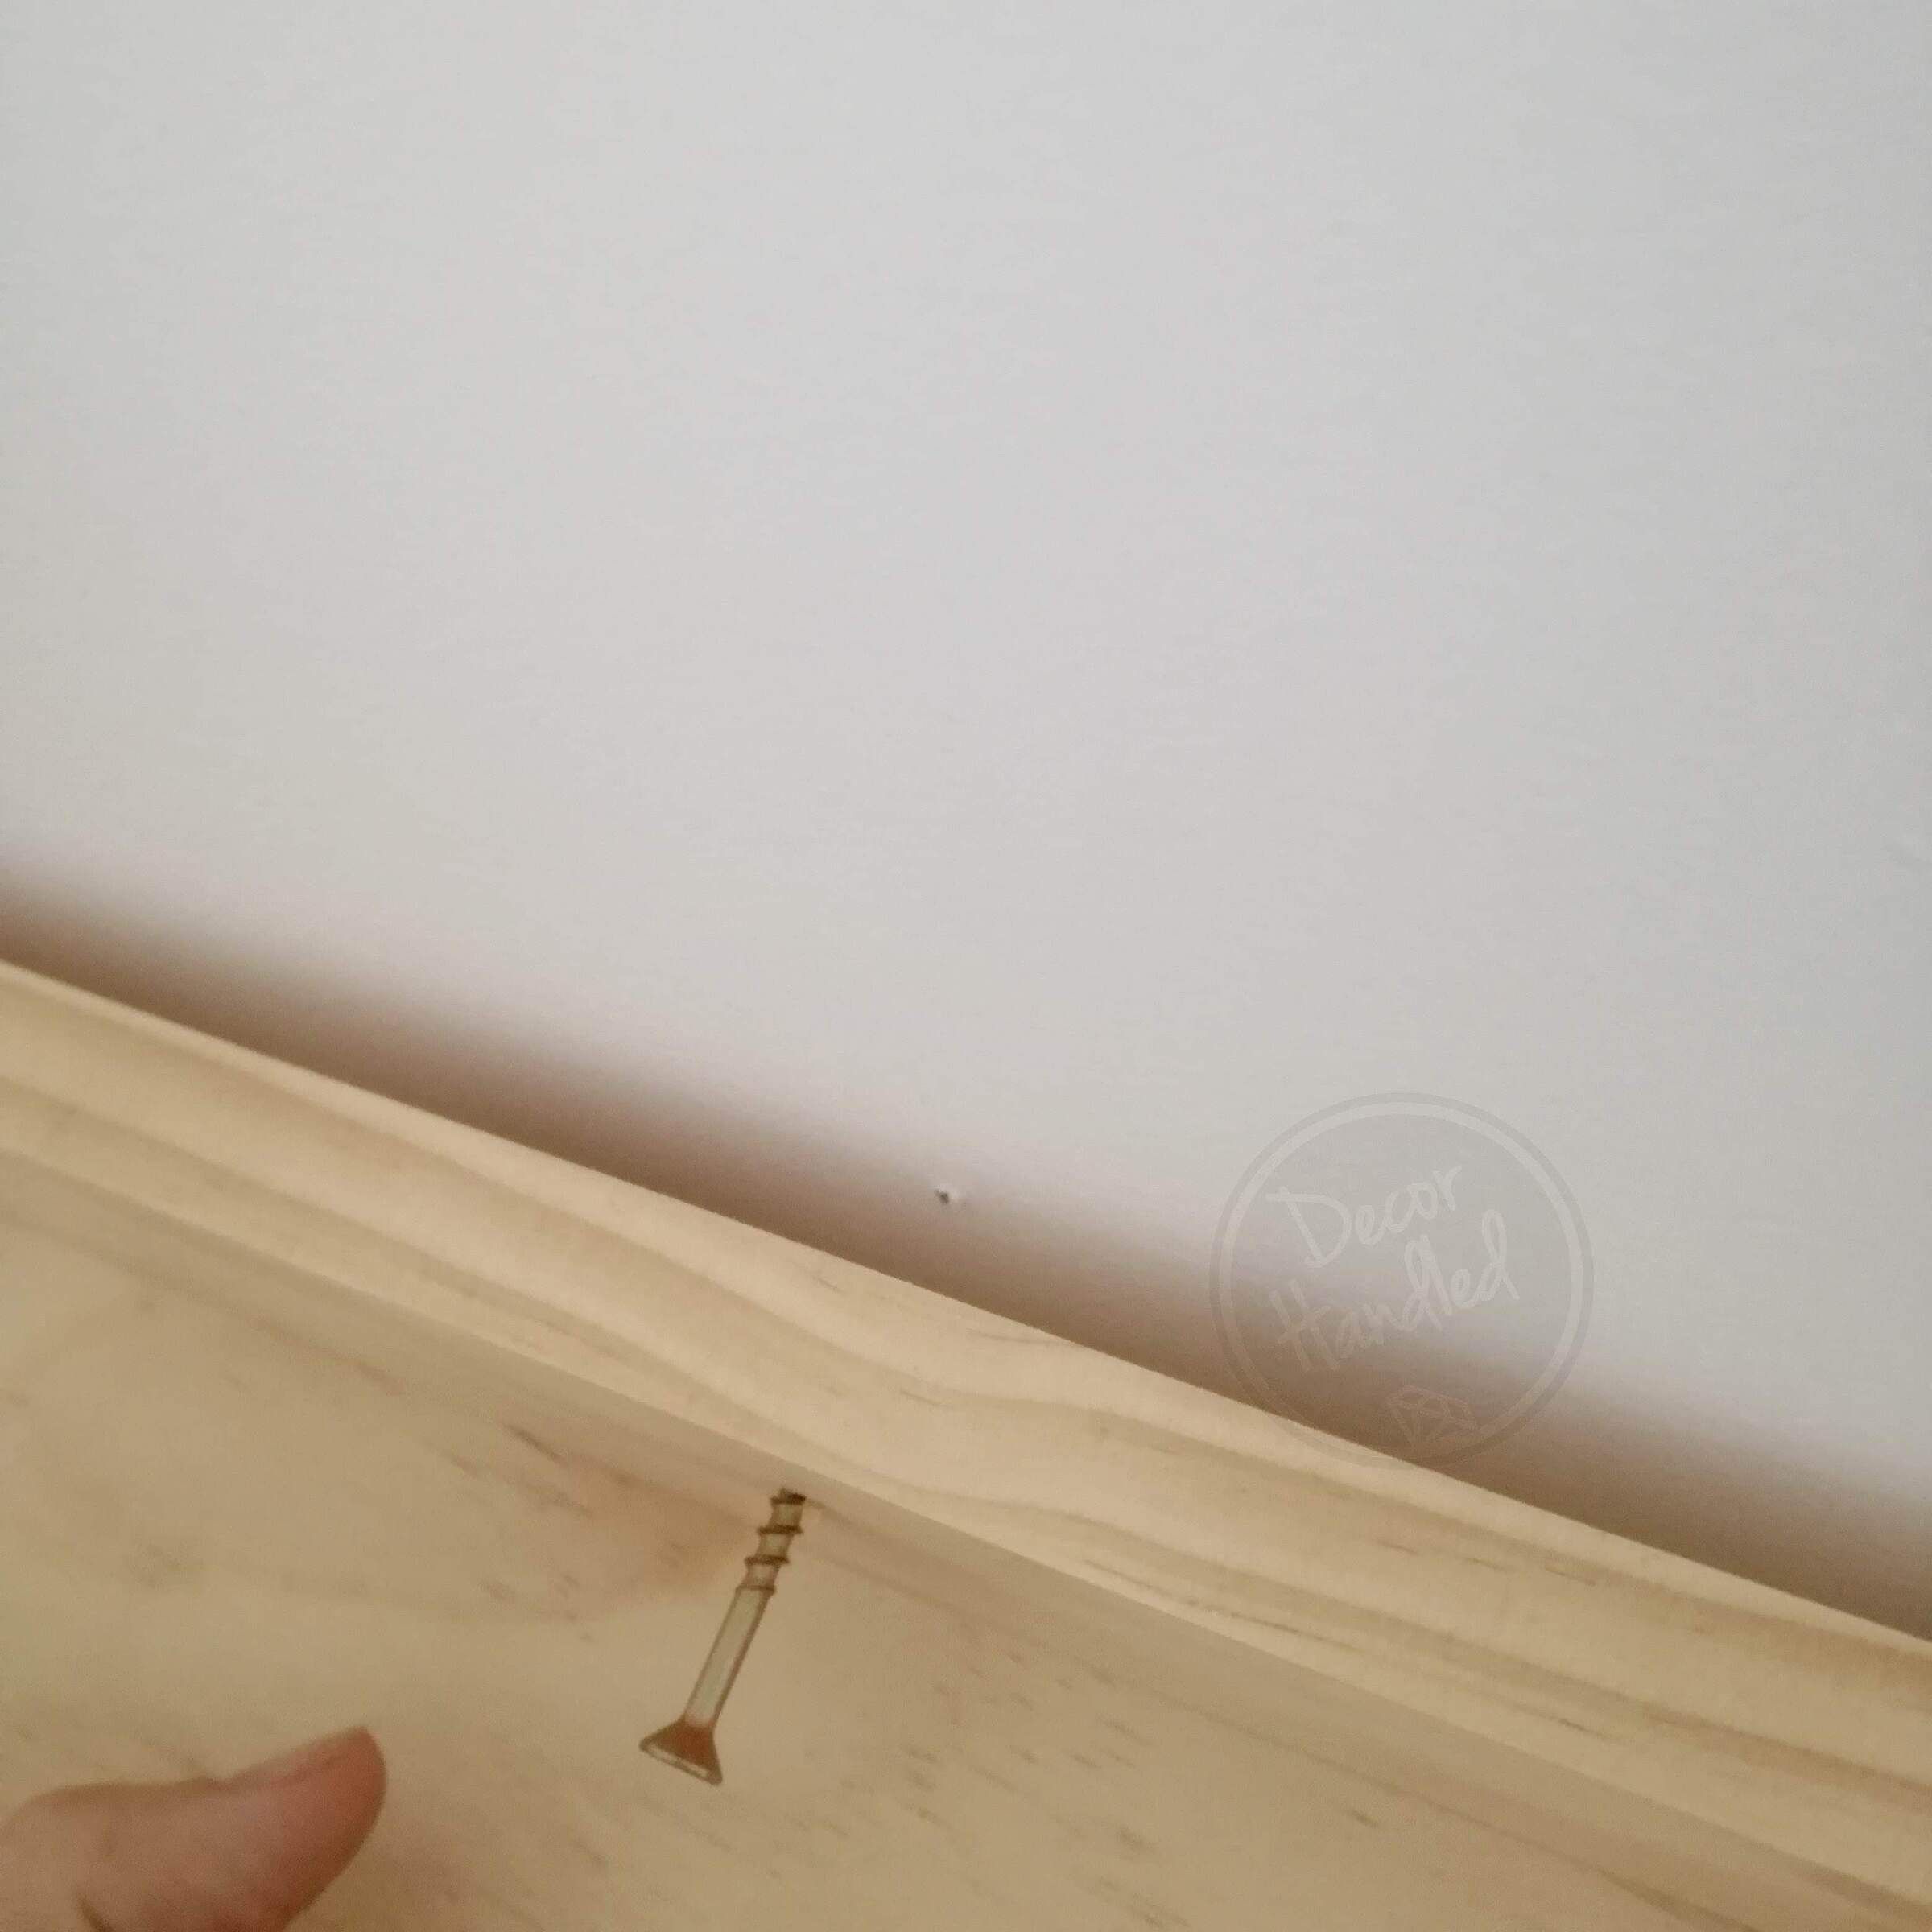
Line the top back of the Shelf up with your Pencil marks, then press on your Shelf so the Screws prick holes in the wall.
Ensure to press by each Screw if your wall isn't dead flat to ensure each Screw makes a prick mark.
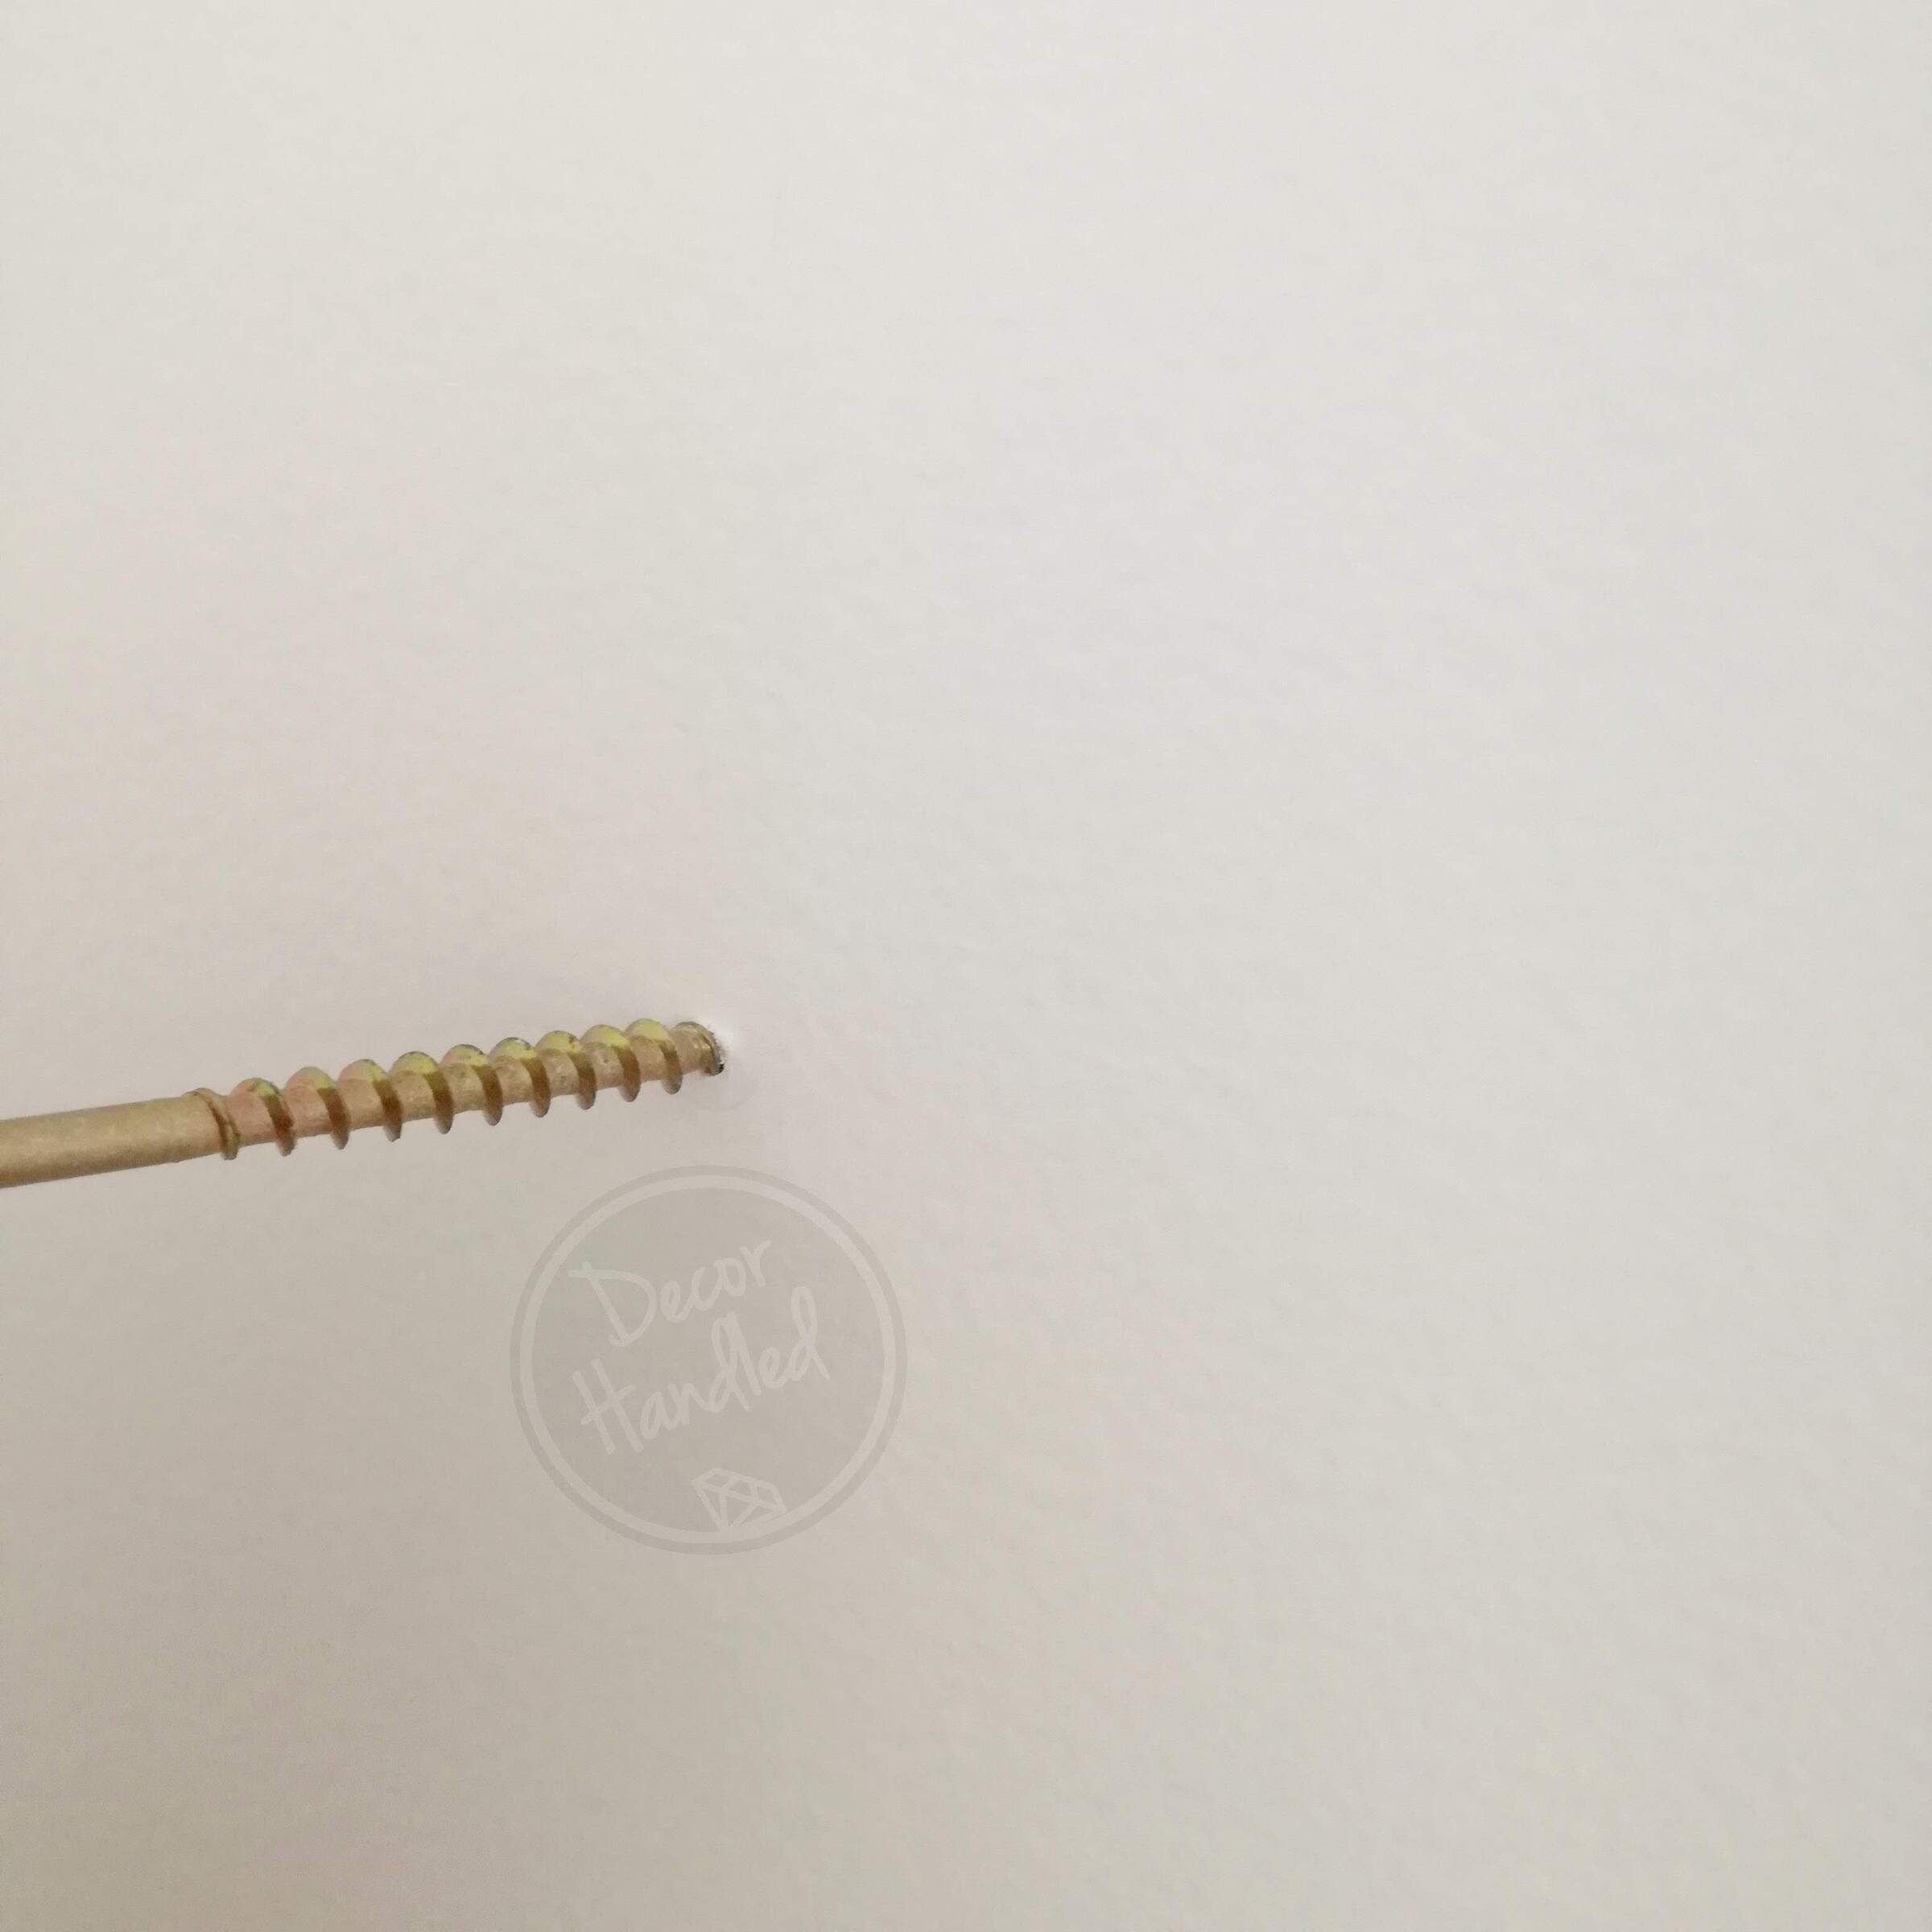
Next use the Screw provided and screw it into the prick marks you have made to check if you have hit any framing like Studs. You will feel an empty cavity behind the Plasterboard if there is not. (If you have hit framing then DO NOT use a Plasterboard Plug, just use the screw) Once you have a hole remove the Screw by turning it counter clockwise.

Now screw the Plasterboard Plugs into each of the holes you have made with the screw. Ensure to screw them in as straight as you possibly can.
(Unless there is a Stud in the way as Plasterboard Plugs cannot screw into these)
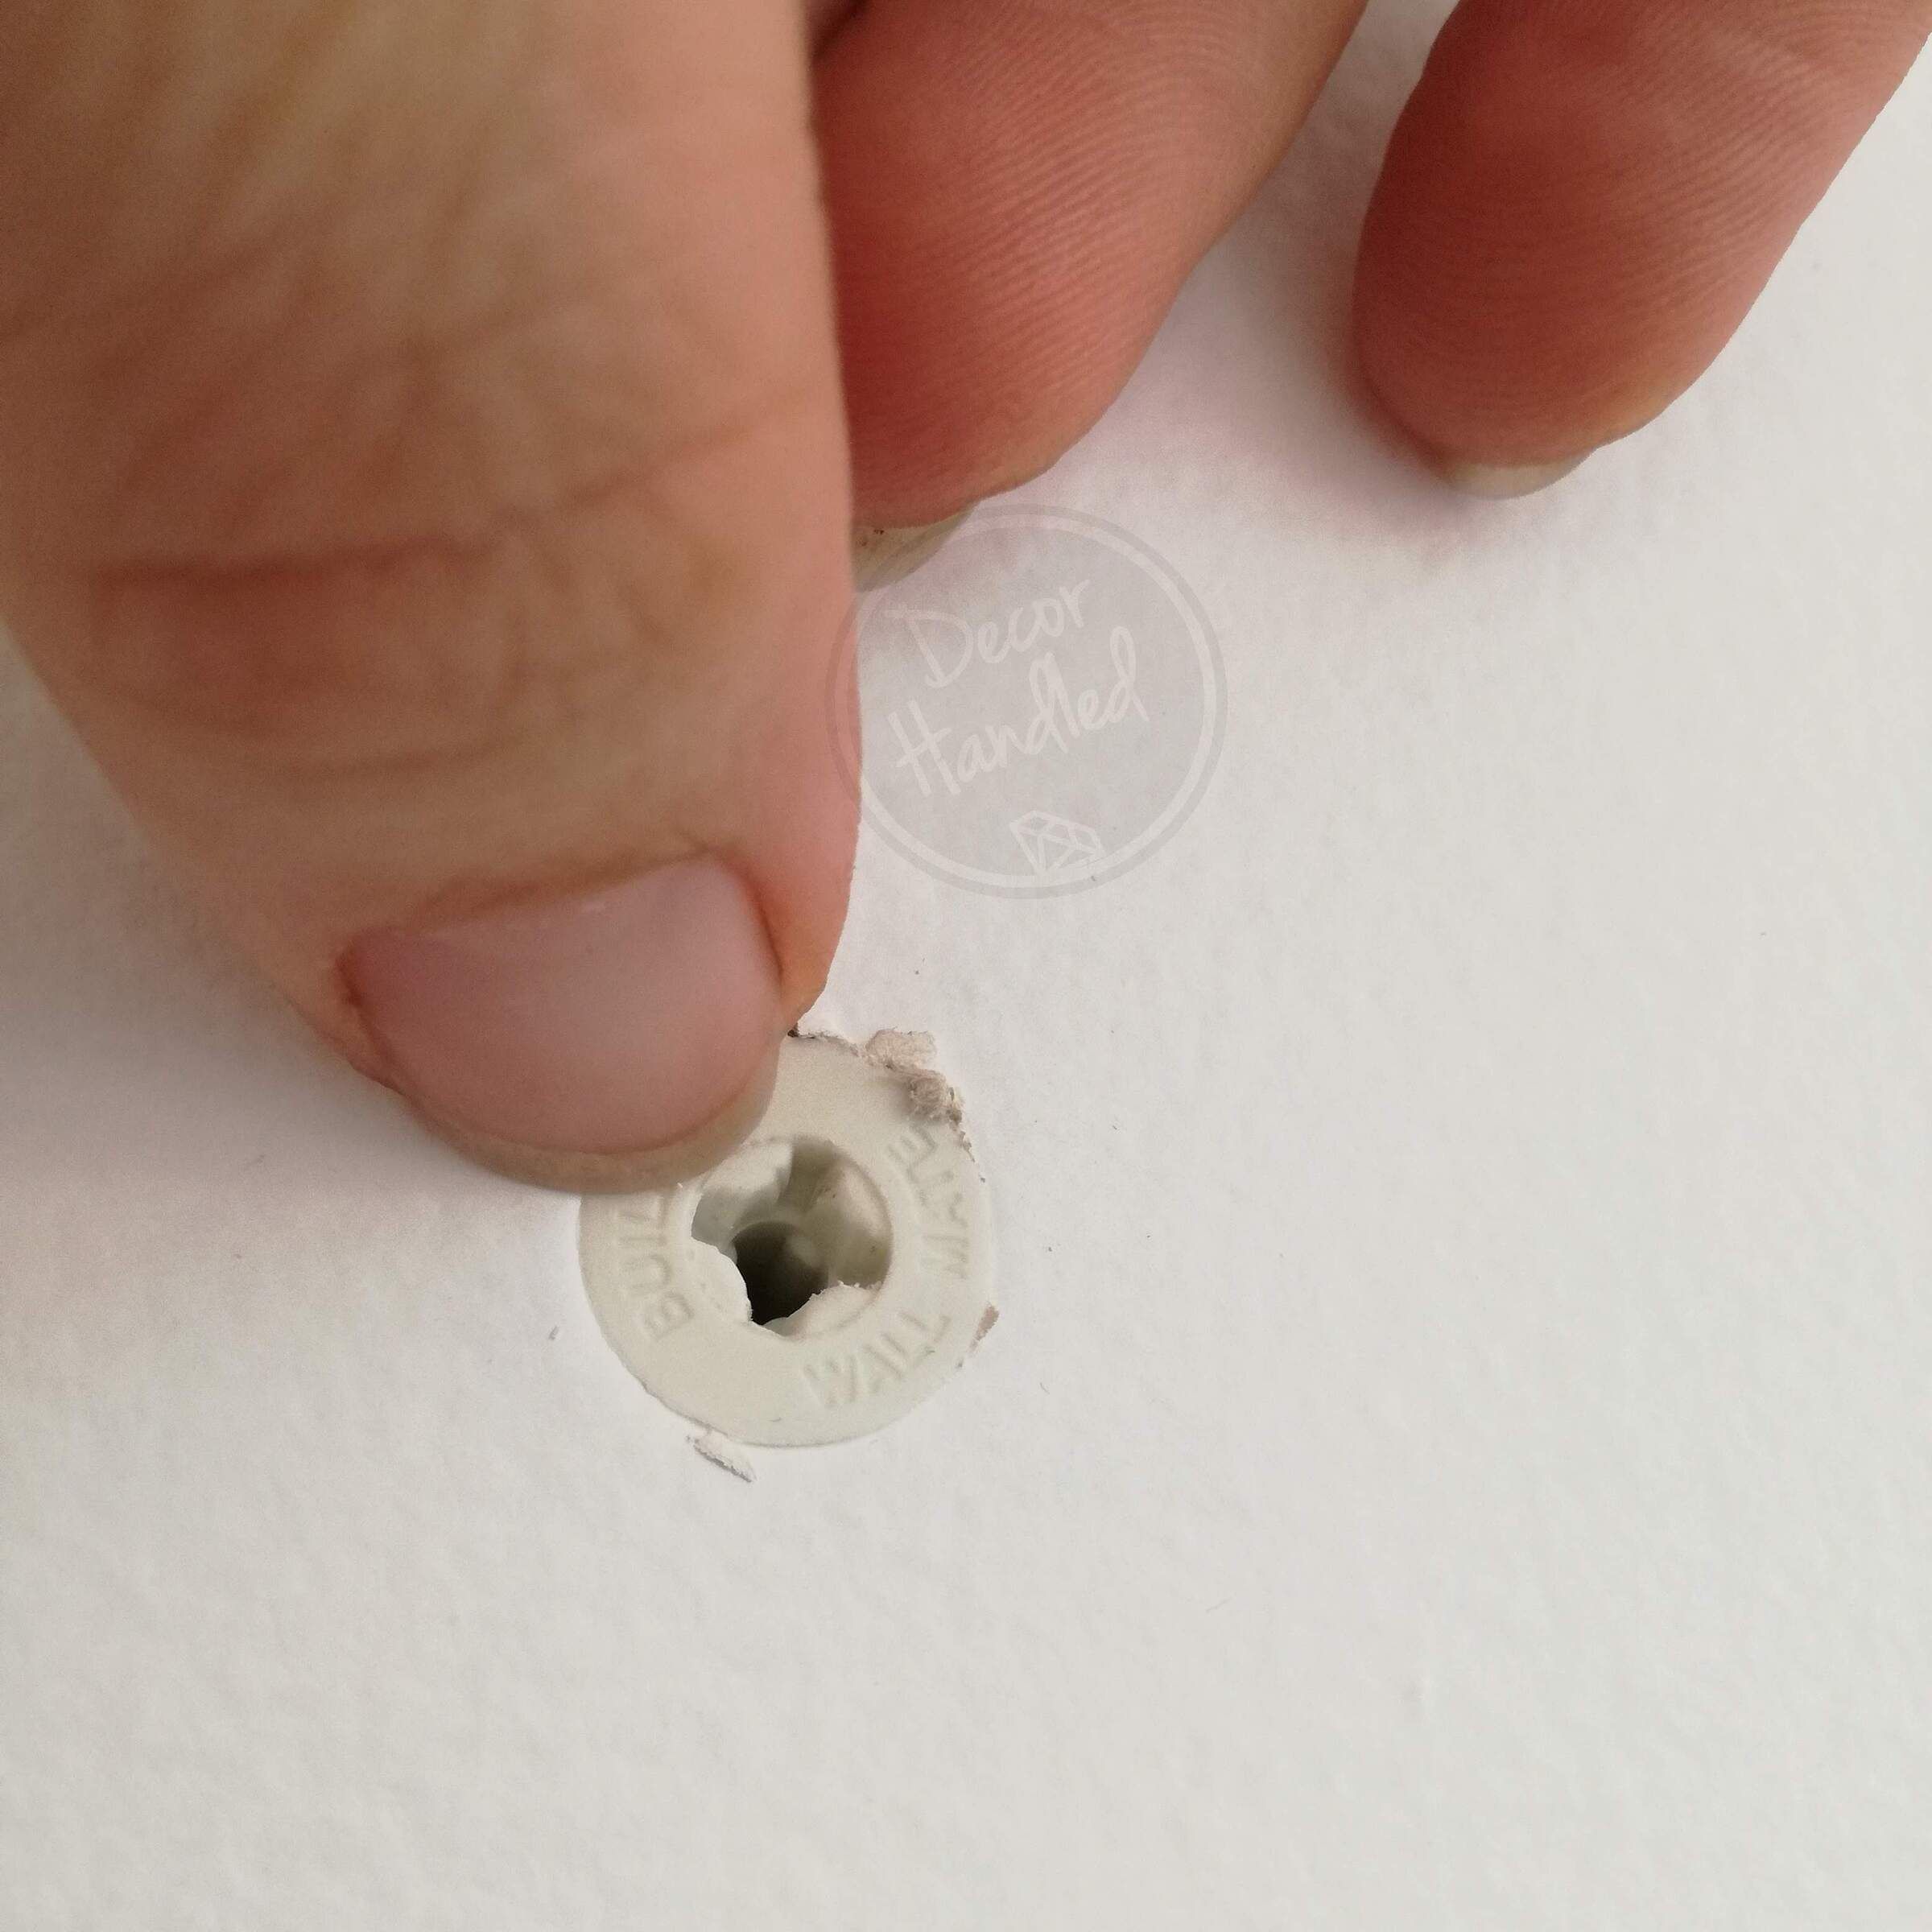
Ensure each Plasterboard Plug is screwed in until it is flush with the wall surface. It should not go deeper, nor should it stick out.

Screw the screws in your Shelf Ledge a bit more so they stick out further - this is so they can locate easier into your Plasterboard Plugs.

Hold your Shelf Ledge up against the wall and ensure all screws now locate inside the Plasterboard Plugs.
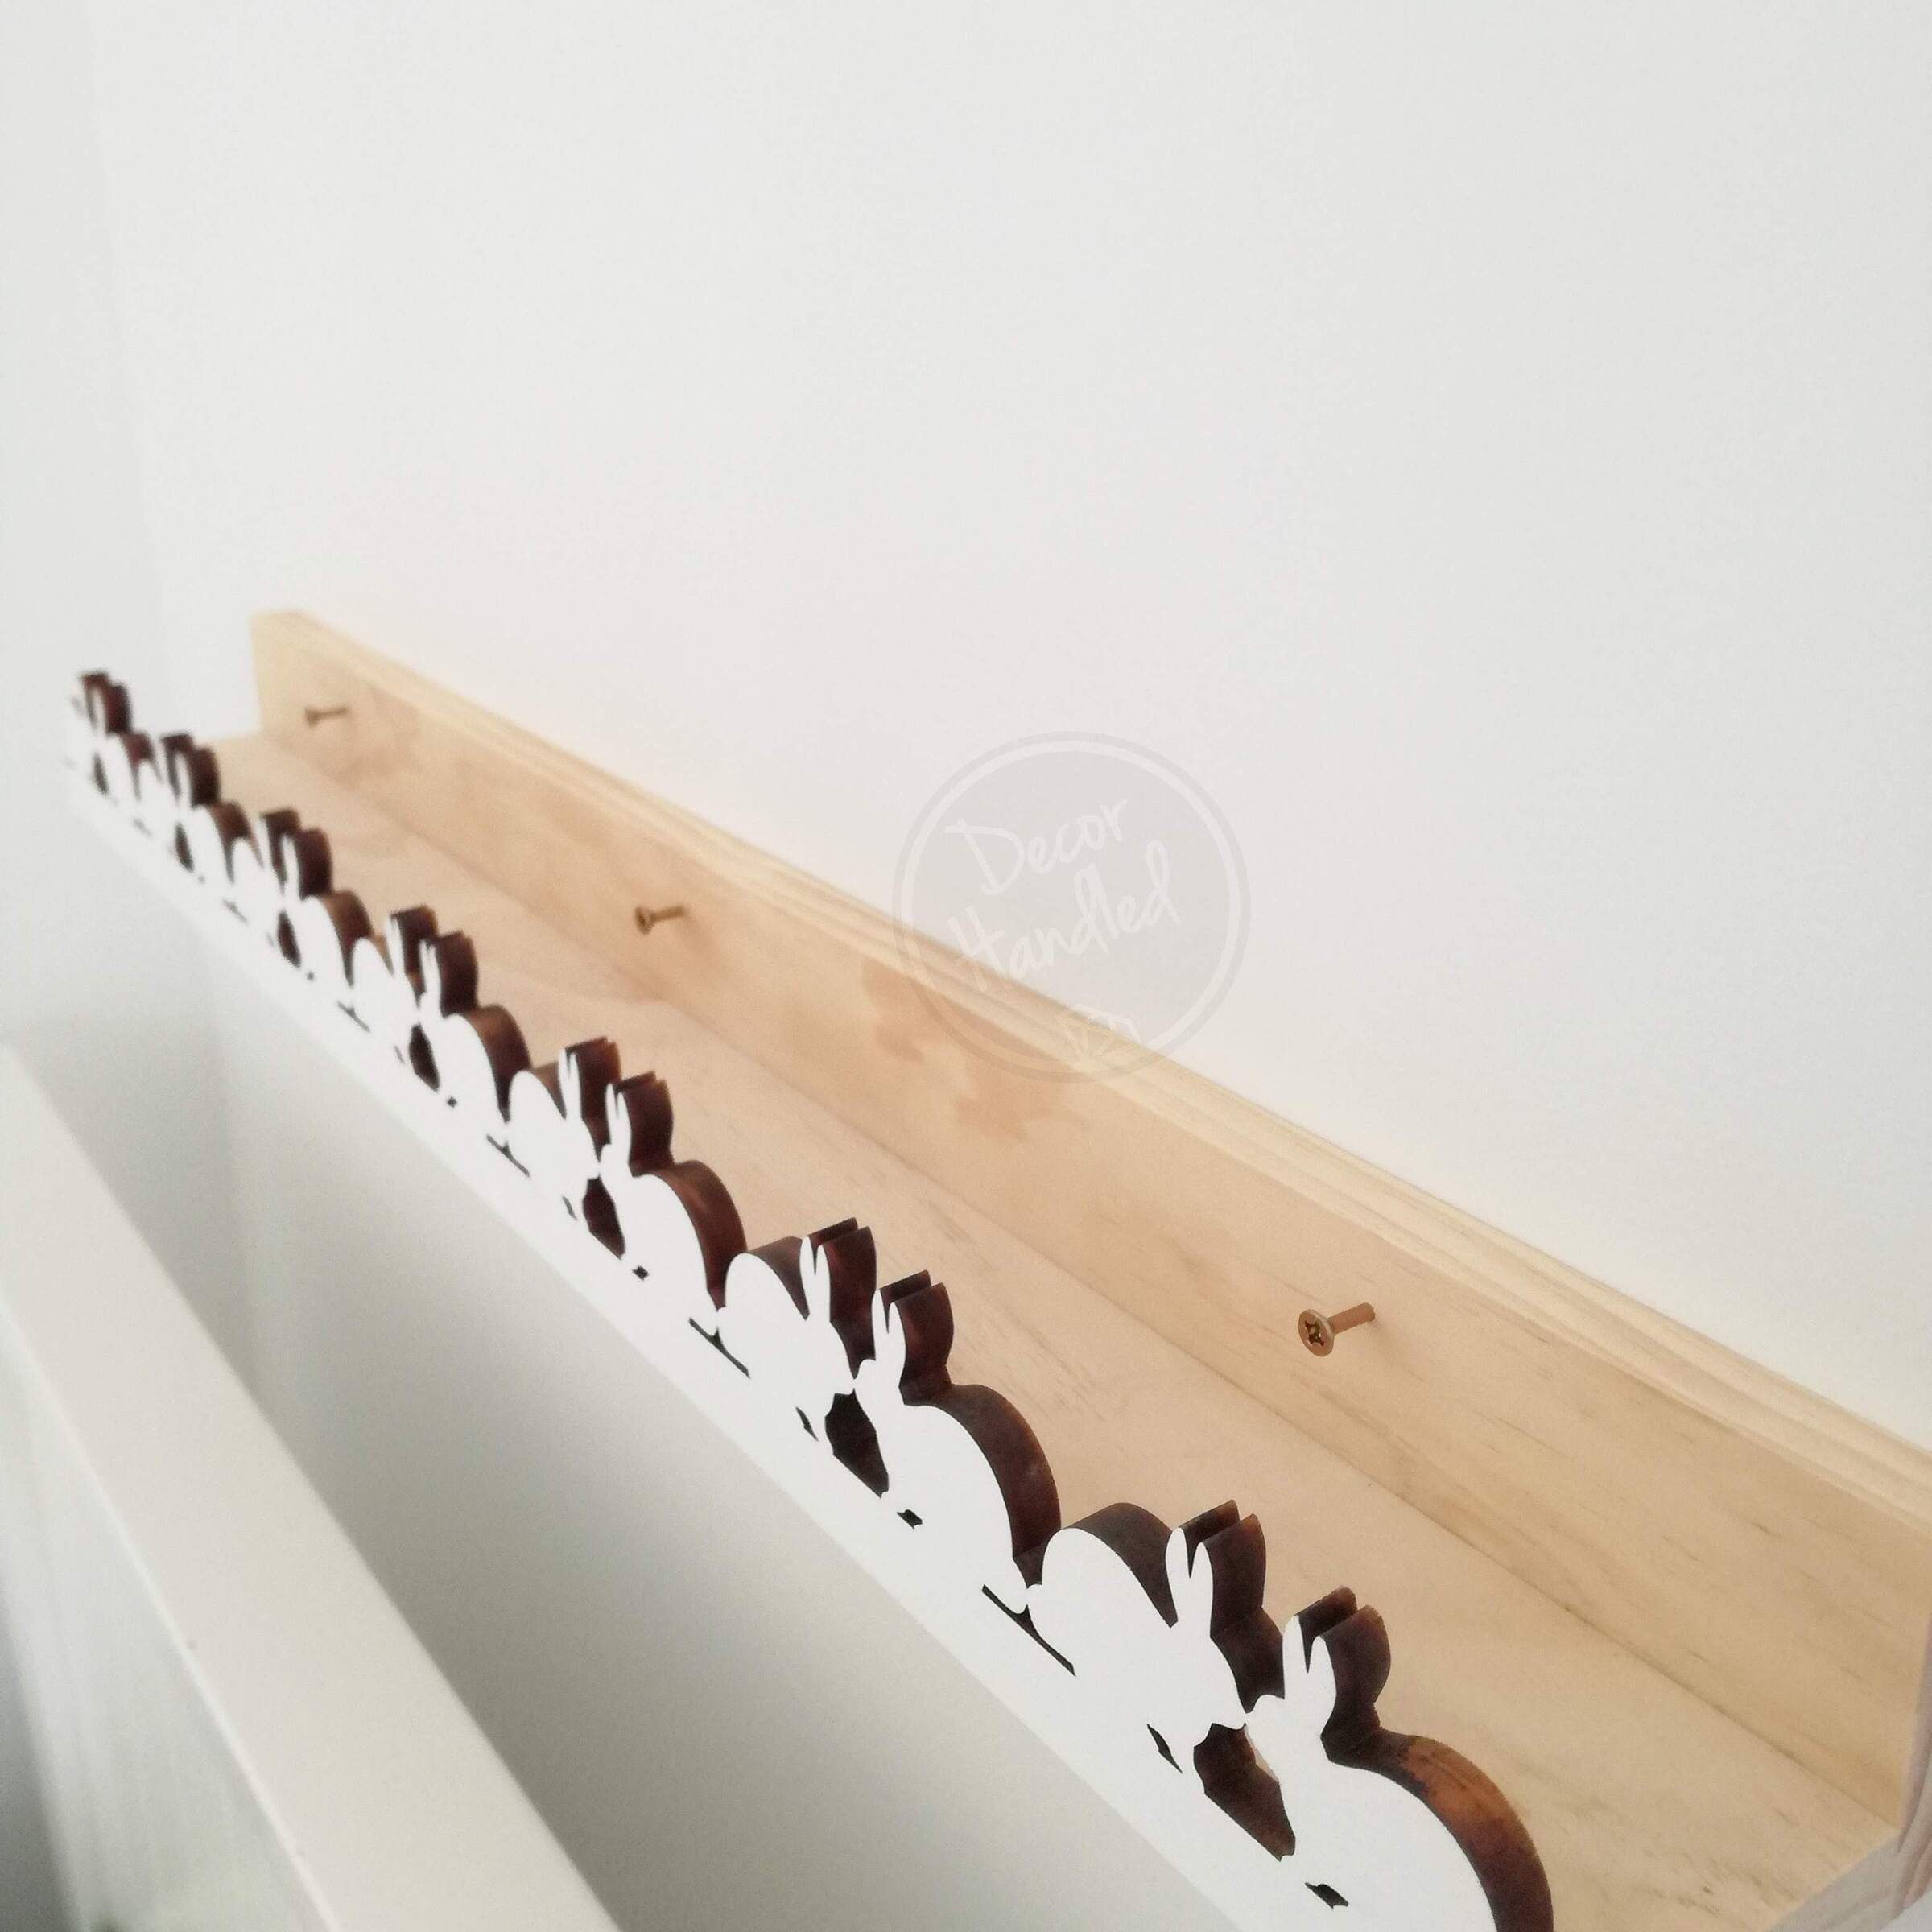
Now that they are all lined up, screw the screws in to about half way. Then continue to screw the screws in further working your way across but do not do them up tightly yet.
Note - Do not screw one in tightly straight away or you run the risk of breaking the Plasterboard around that specific screw or of the others not lining up nicely.
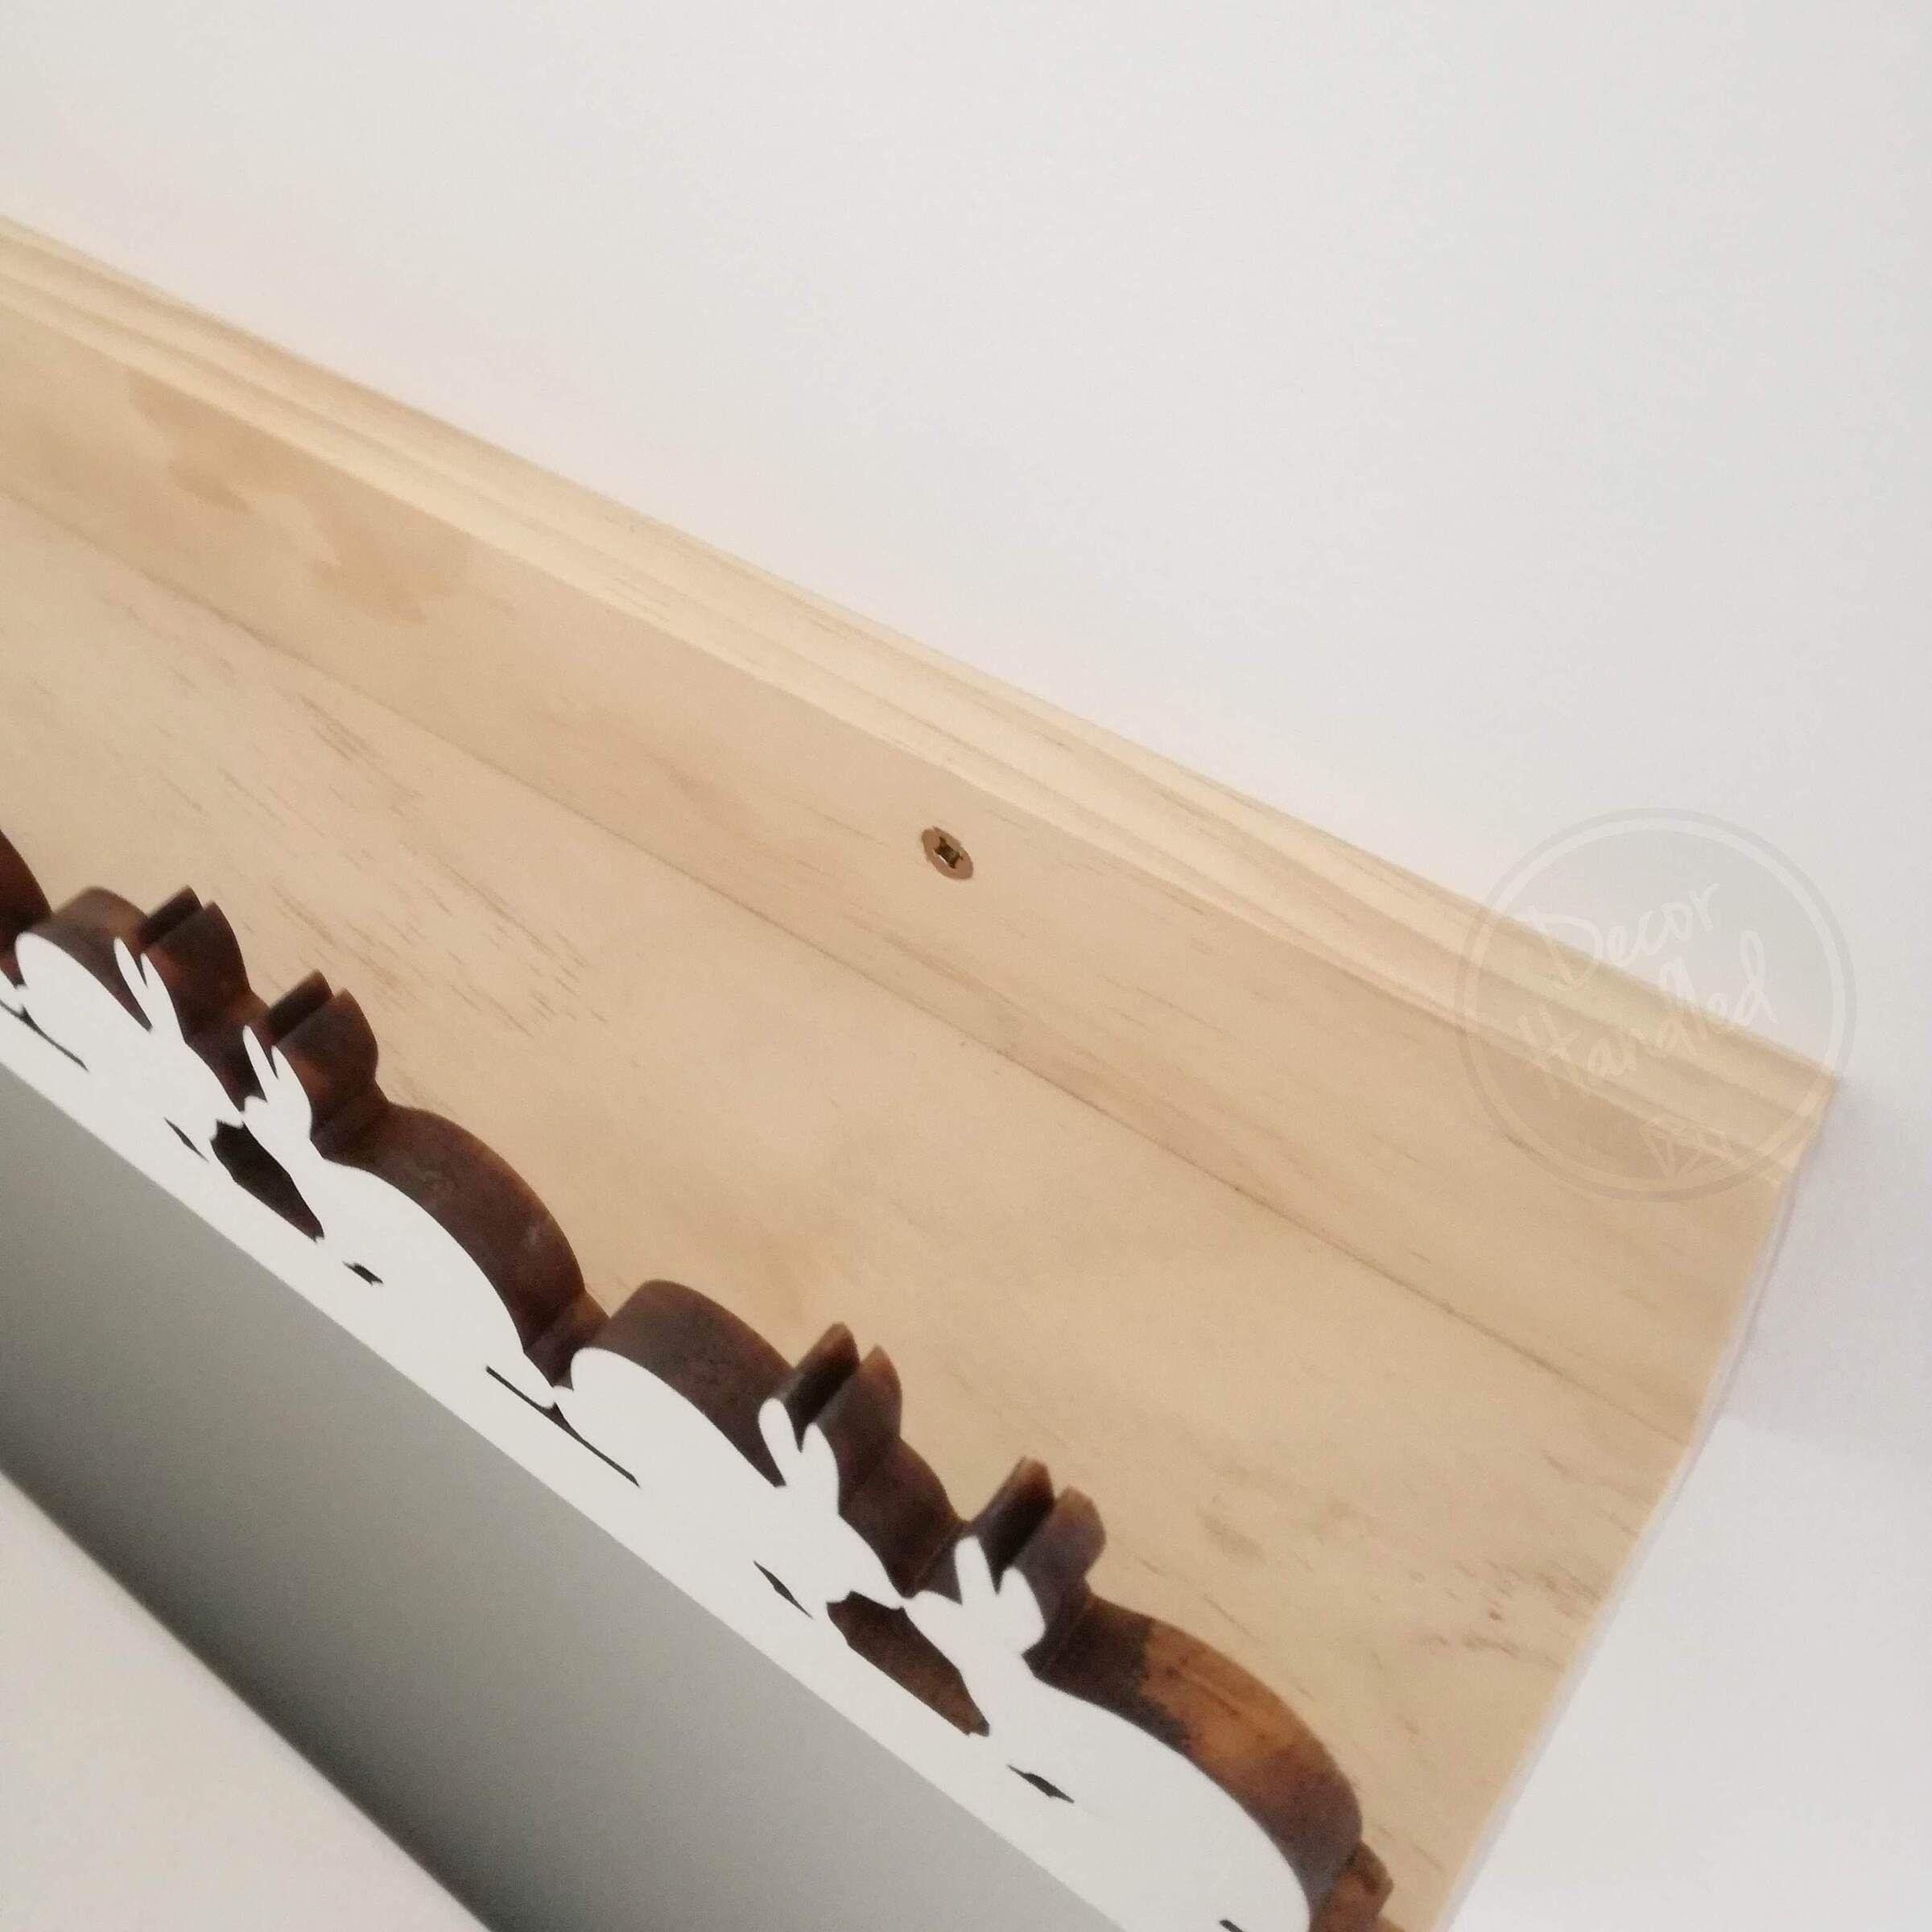
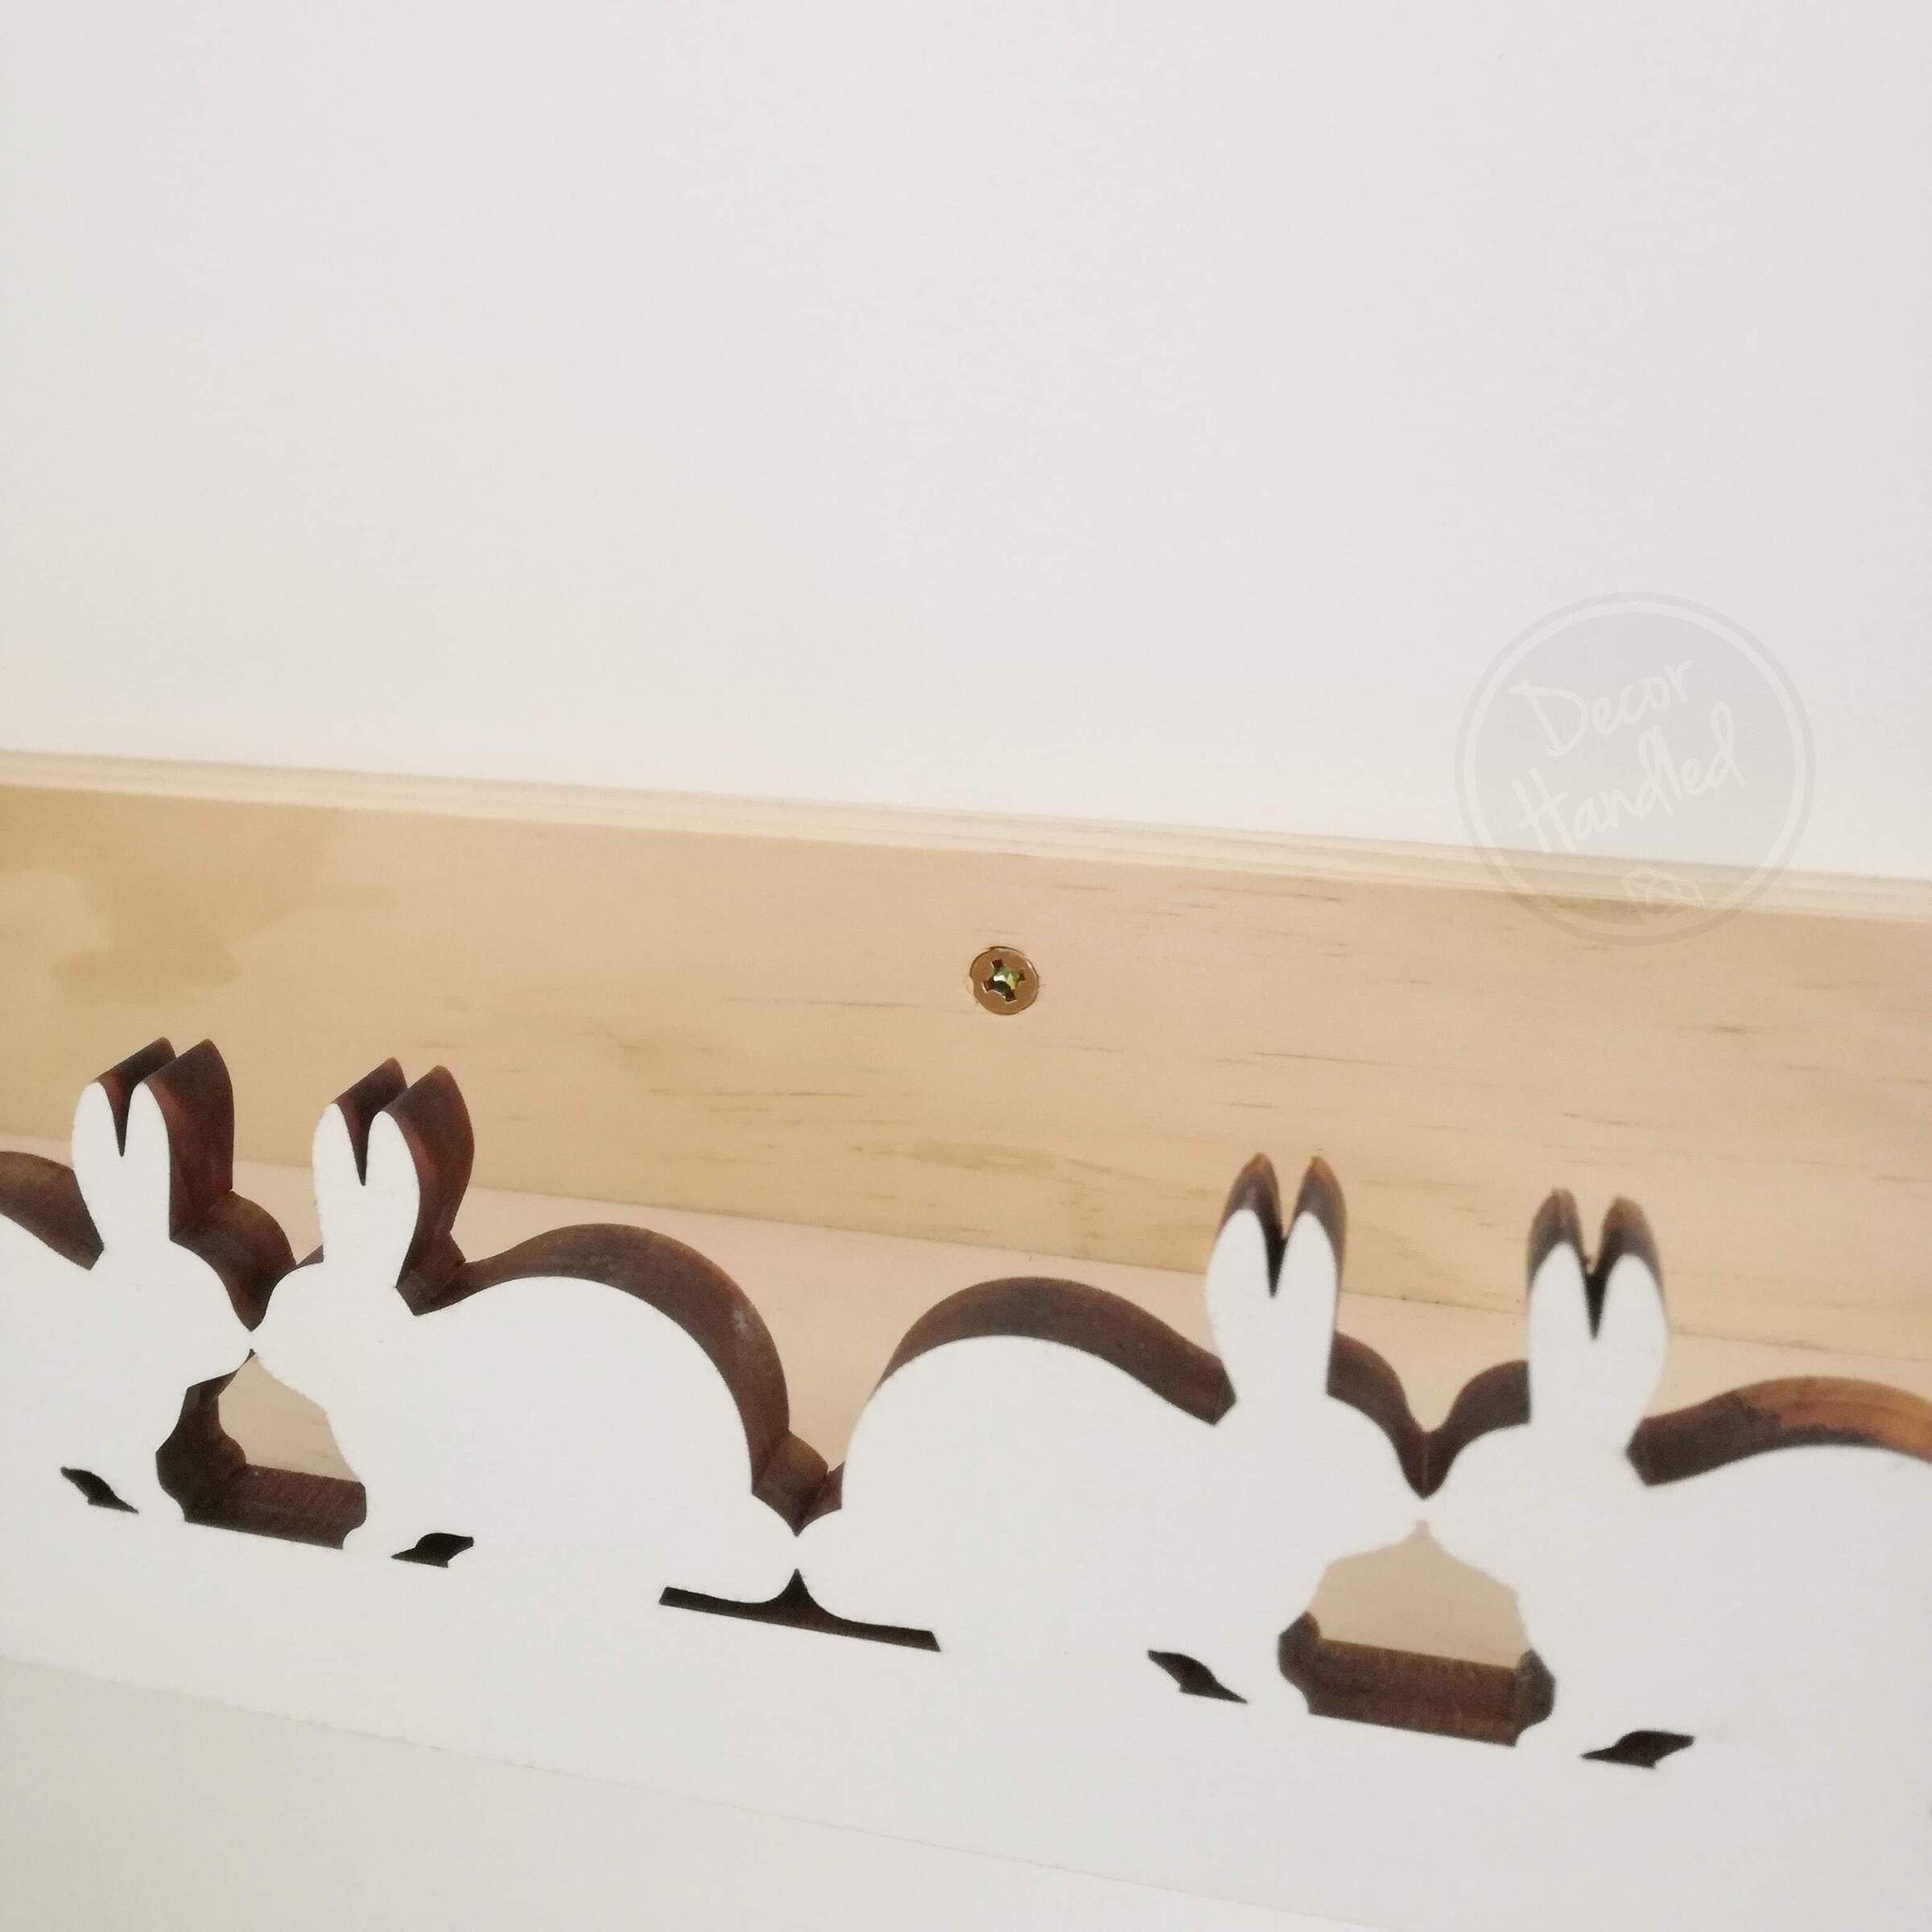
Once they are all in, then you can do them up tightly ensuring the head of the Screw sits flush with the wood.
Congratulations you have just installed your Shelf Ledge!
Warning: We do not recommend Installing Shelving above a bed. Should you chose to hang a Shelf above or next to a bed please do so in a SAFE manner. Ensure your Shelf is correctly installed and only light objects that cannot cause harm are placed on the Shelf.
Please refrain from hanging items off the Shaped Shelf Ledges (ie on the Swans heads or Bunnies ears) as these details are delicate and need to be treated so. These details can be broken off when struck with impact so it is important that these Shelves are hung at an appropriate height and not climbed on.
All Instructions and details in these Instructions are ©Decor Handled and not to be replicated.